Most AI videos look impressive — until you try to control them.
You write a prompt. You hit generate. And then the same problems appear:
- Motion feels random
- Characters don't stay consistent
- The scene doesn't match your intent
That's because traditional tools rely heavily on text.
Seedance 2.0 is different.
It's a multi-modal, reference-driven video generation system that allows you to control:
- Scene structure
- Camera movement
- Perspective
- Visual consistency
In this guide, I'll show you exactly how to use Seedance 2.0 step by step — using a real working example with images and a motion reference video.
By the end, you won't just know how to use the tool.
👉 You'll understand how to direct AI-generated videos like a filmmaker.
Here's the exact video we're going to recreate:
By the end of this guide, you'll know exactly how to build this — step by step.
Want to skip ahead and try it yourself? 👉 Generate your video on Seedance 2.0
What Is Seedance 2.0?
Seedance 2.0 is an advanced AI video model that combines:
- Text prompts (for direction)
- Images (for structure and identity)
- Video references (for motion)
Unlike traditional text-to-video models, it allows you to define how the scene behaves — not just what it looks like.
That means:
👉 You are not generating a random video
👉 You are designing a controlled visual sequence
This shift is the key difference.
Why Most People Fail with Seedance 2.0
Here's the truth.
Most people open Seedance 2.0 and do exactly what they'd do with any other tool:
They type a prompt. They hit generate. They get a result they don't like.
And then they blame the model.
The real problem? They're using a multi-modal system like it's a text-only tool.
Seedance 2.0 is designed around four input types working together:
- Text prompts → define the intent and direction
- Image references → define the scene structure and identity
- Video references → define the motion and camera behavior
- Audio → guide pacing, mood, or sync
Skip any of these, and the model is left guessing.
Use all four correctly, and the results are dramatically different.
That's exactly what this guide shows you how to do.
How to Use Seedance 2.0 (Step-by-Step Workflow)
Let's go through the complete workflow used by experienced creators.
Step 1 — Prepare Your Inputs
Before writing any prompt, you need to prepare your assets.
For this tutorial example, we use:
- @image1 → first frame (main perspective)
- @image2 → upper scene
- @image3 → left scene
- @image4 → right scene
- @video1 → camera motion reference
These inputs define:
- What the scene looks like
- How it is structured
- How it moves
👉 The quality of your inputs directly determines the output quality.
Here are the exact assets used in this example:
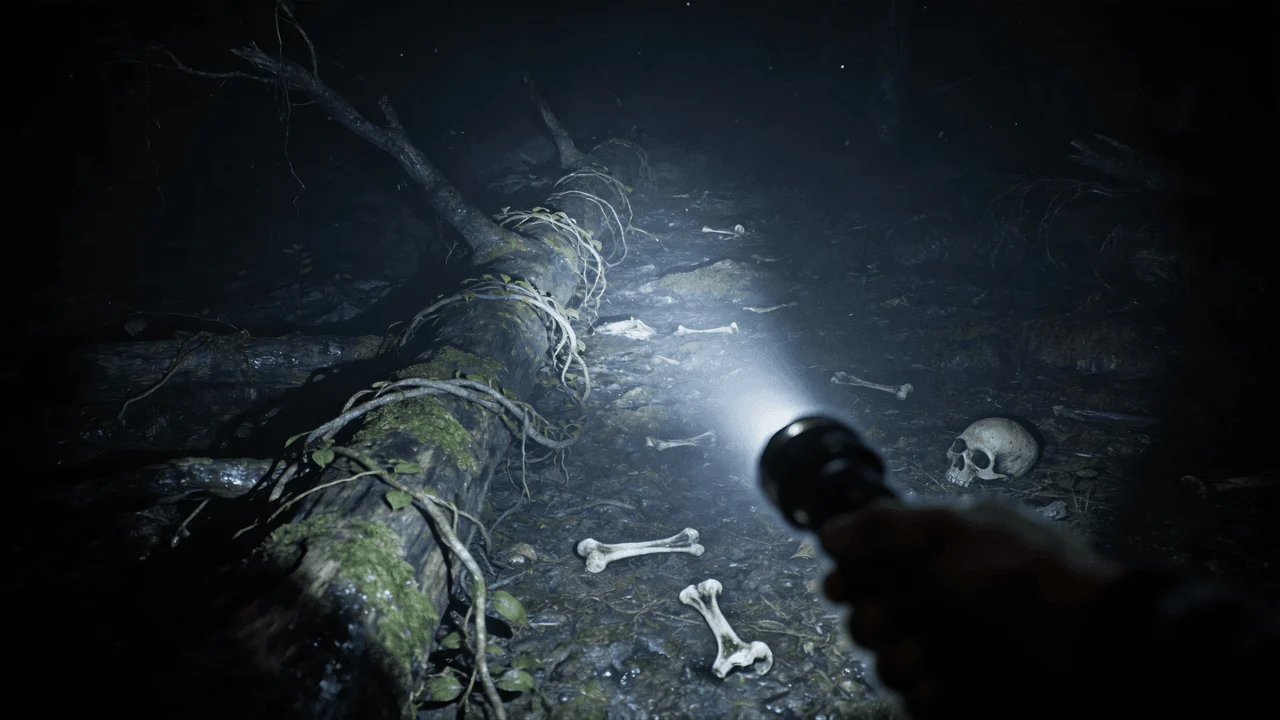
@image1 — First frame (main perspective)
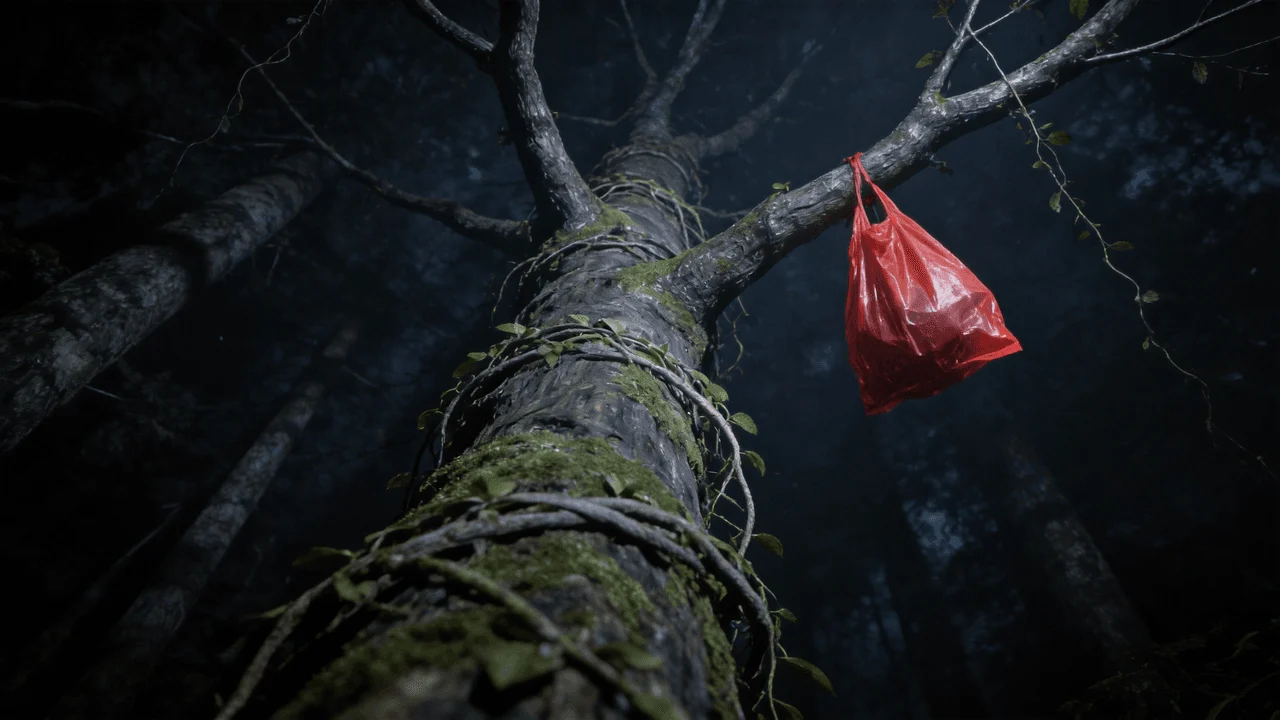
@image2 — Upper scene
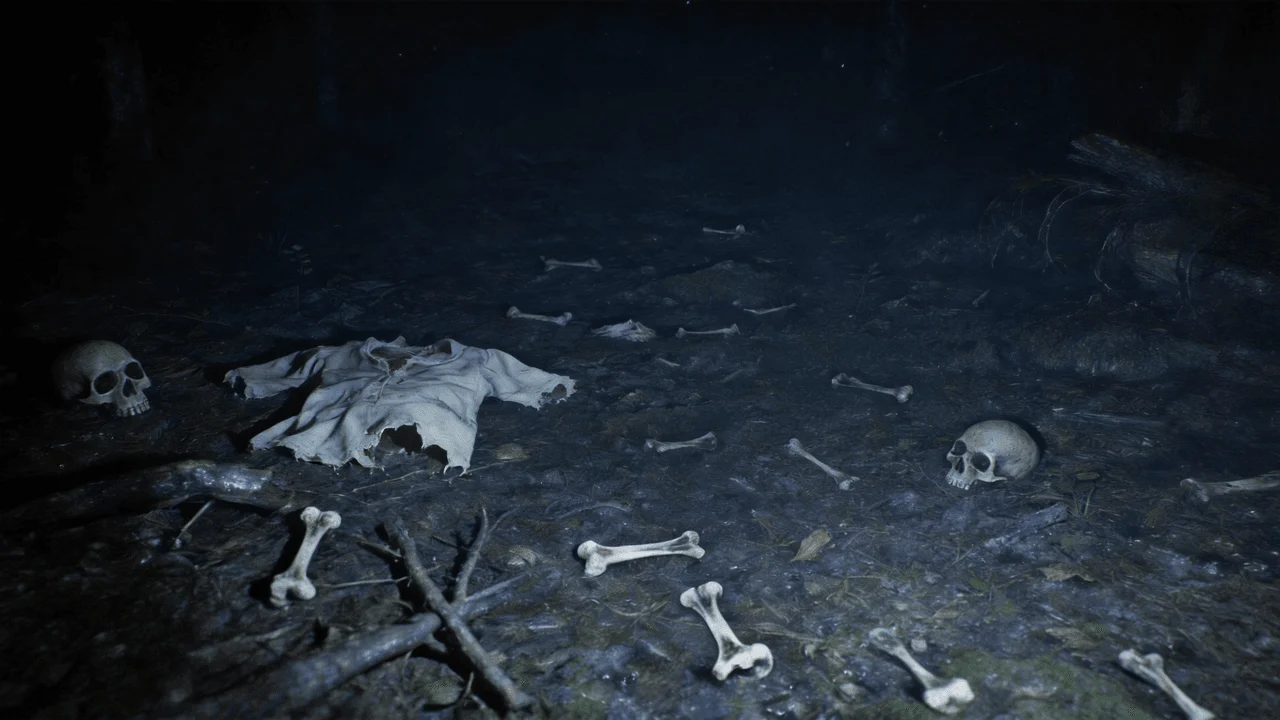
@image3 — Left scene
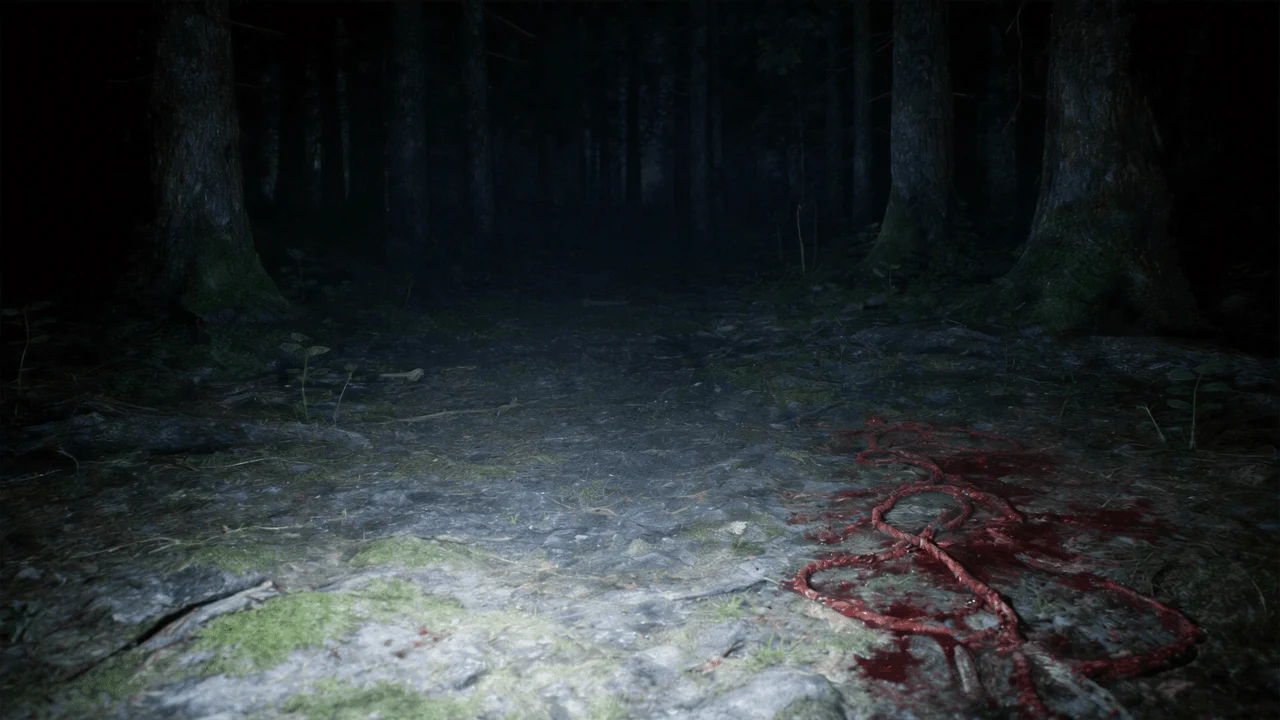
@image4 — Right scene
@video1 — Camera motion reference
Now that your assets are ready, let's move to the most important part — the prompt.
Step 2 — Write a Structured Prompt
Seedance 2.0 is not designed for vague prompts.
You need structured instructions.
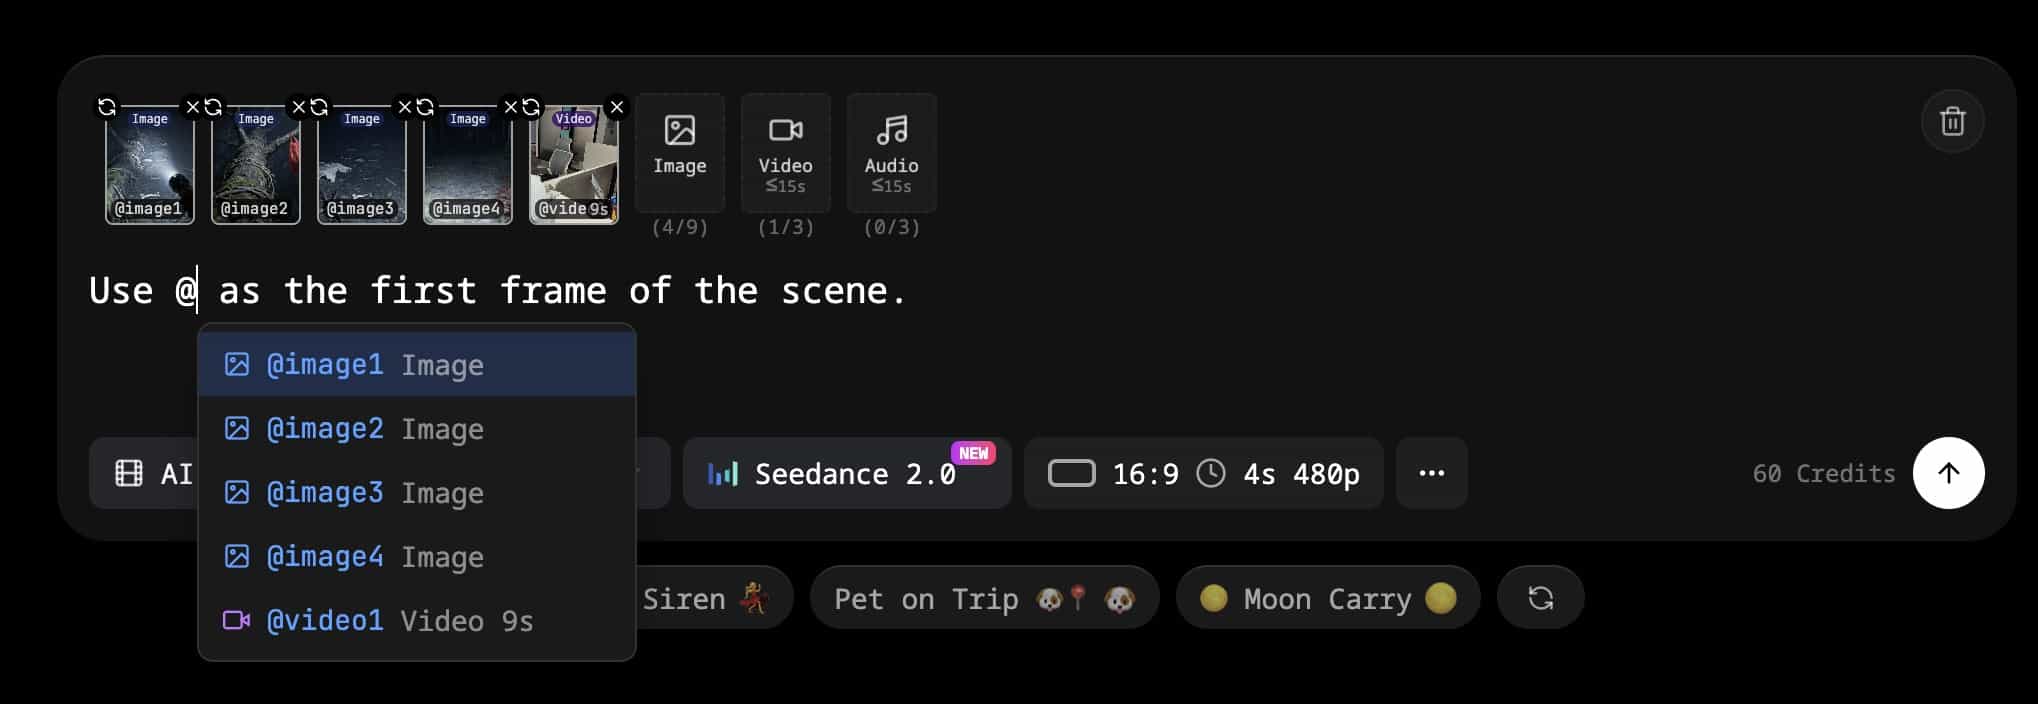
Here is a real working example:
Use @image1 as the first frame of the scene.
Adopt a first-person perspective and refer to the camera movement effect in @video1.
The upper scene should be based on @image2,
the left scene on @image3,
and the right scene on @image4.
Here's what it looks like in the interface — typing the first line and using the @ reference feature to pull in your images:
This prompt defines:
- The starting frame
- The camera perspective
- The motion behavior
- The spatial layout
With the prompt written, the next step is connecting each @ reference to its actual file.
Step 3 — Assign References (@image / @video)
Now map your inputs to the prompt.
Upload:
- Images → assign to @image1–4
- Video → assign to @video1
This ensures:
- Stable character and scene identity
- Controlled layout
- Consistent visual output
Without proper reference assignment, the model may behave unpredictably.
Here's what the complete setup looks like — full prompt entered with all references assigned:
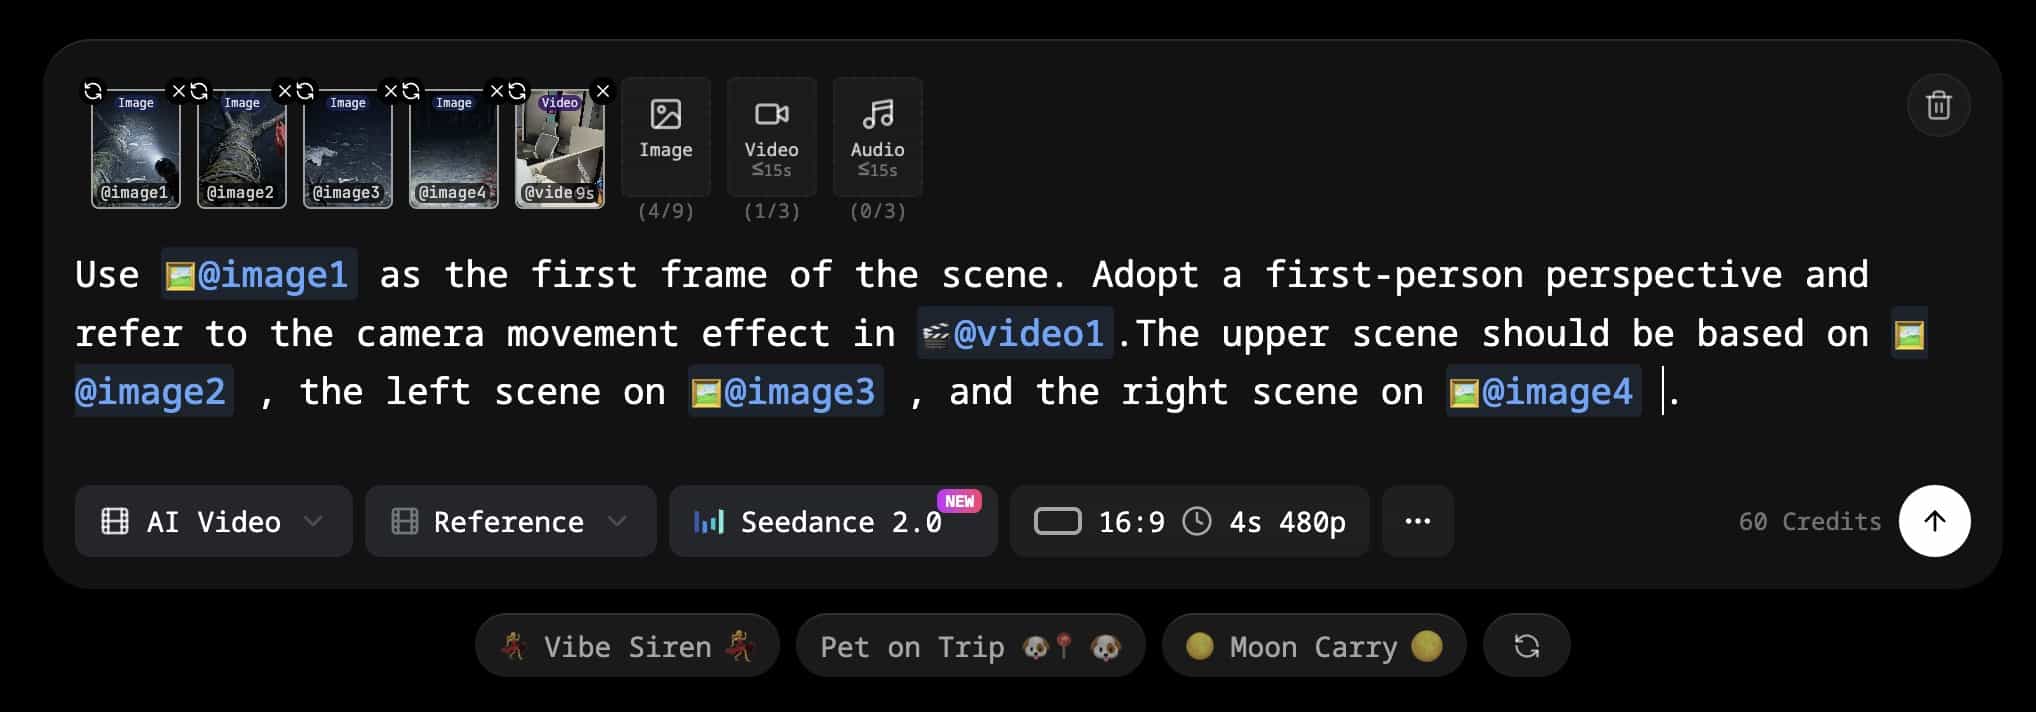
Everything is set. Time to generate.
Step 4 — Generate the Video
Once everything is set:
- Upload all inputs
- Paste your prompt
- Run generation
Typical output:
- 10–15 seconds duration
- Smooth camera movement
- Visually coherent scene
Here is the result from this exact example:
Ready to create your own? 👉 Try Seedance 2.0 for free
Step 5 — Review and Iterate
After generating your video, evaluate:
- Does the first frame match your expectation?
- Is the camera motion natural?
- Are the scenes positioned correctly?
- Is the perspective consistent?
If something feels off:
👉 Adjust either the prompt or the references
Iteration is part of the workflow.
Real Example: Multi-Modal Prompt Breakdown
Now let's break down the real example and understand why it works.
The Prompt
Use @image1 as the first frame of the scene.
Adopt a first-person perspective and refer to the camera movement effect in @video1.
The upper scene should be based on @image2,
the left scene on @image3,
and the right scene on @image4.
First Frame Control
The instruction: Use @image1 as the first frame
This removes randomness at the beginning of the video.
Instead of letting the model guess:
👉 You define exactly how the video starts
This improves:
- Consistency
- Predictability
- Visual accuracy
First-Person Perspective
The instruction: Adopt a first-person perspective
This changes how the viewer experiences the scene.
Instead of watching from outside, the viewer becomes part of the scene.
This is especially useful for:
- POV storytelling
- Immersive videos
- Social media content
Camera Motion (Video Reference)
The instruction: refer to the camera movement effect in @video1
This is one of the most powerful features.
Instead of generating motion from scratch, the model learns from a real video.
This results in:
- Smoother movement
- More realistic pacing
- Cinematic camera behavior
Without this: ❌ motion feels artificial
With this: ✅ motion feels natural
Scene Composition (Multi-Region Layout)
The instruction: upper / left / right scene mapping
This defines how different parts of the scene are constructed.
Instead of random composition, you get:
- Structured layout
- Layered visuals
- Better scene control
This is crucial for complex storytelling.
How to Improve Seedance 2.0 Results
Even with a good setup, results can vary.
Here's how to improve them.
Fix Blurry Videos
Blurry output is a common issue.
Solutions:
- Use higher-resolution images
- Add more descriptive detail to prompts
- Avoid low-quality inputs
- Use a video upscaler if needed
Improve Motion Quality
If motion feels unnatural:
- Use smoother reference videos
- Avoid chaotic movement
- Choose stable camera paths
Improve Scene Consistency
If elements look inconsistent:
- Use clear and distinct images
- Avoid mixing conflicting styles
- Simplify your composition
Advanced Tips for Better Seedance 2.0 Videos
Use Motion References Every Time
This is the biggest difference between average and high-quality results.
Always include a motion reference.
Think Like a Director
Instead of writing:
"a person walking in a city"
Think in terms of:
- Camera position
- Movement
- Lighting
- Mood
This mindset shift dramatically improves results.
Control the First Frame
The first frame determines everything that follows.
Always define it explicitly.
Keep Your Scene Simple at First
Start with:
- One subject
- One motion
- One perspective
Then gradually increase complexity.
What Can You Create with Seedance 2.0?
Using this workflow, you can build:
AI Short Films
Create cinematic sequences with controlled motion and composition.
POV Videos
Immersive first-person videos that feel realistic and engaging.
AI Ads
Combine product images with motion references to generate high-quality promotional content.
Game Cinematics
Design scenes that resemble in-game cutscenes or environments.
Storytelling Content
Build multi-scene narratives with consistent visual structure.
Is Seedance 2.0 Worth Using in 2026?
Yes — but only if you use it correctly.
Most beginners rely only on text prompts.
That approach leads to:
- Inconsistent results
- Poor motion
- Lack of control
Seedance 2.0 is designed for:
- Structured prompts
- Multi-modal inputs
- Reference-driven workflows
If you:
- Use image references
- Use motion reference videos
- Structure your prompts
👉 You will achieve significantly better results
Seedance 2.0 Prompt Template (Copy & Use)
You can reuse this template:
Use @image1 as the first frame of the scene.
Adopt a first-person perspective and refer to the camera movement effect in @video1.
The upper scene should be based on @image2,
the left scene on @image3,
and the right scene on @image4.
Cinematic lighting, ultra realistic, dramatic shadows, shallow depth of field, high detail.
Use this template directly on Seedance 2.0 →
Final Thoughts
Seedance 2.0 is not just another AI tool.
It represents a shift in how AI video is created.
It's no longer about:
👉 Writing better prompts
It's about:
- Designing scenes
- Controlling motion
- Structuring inputs
Once you understand this:
👉 You stop generating random videos
👉 And start creating intentional, cinematic content
Seedance 2.0 vs Runway vs Pika vs Sora
Not sure which tool to use? Here's a quick comparison.
| Feature | Seedance 2.0 | Runway Gen-3 | Pika 2.0 | Sora |
|---|---|---|---|---|
| Multi-image reference input | ✅ Yes | ⚠️ Single image | ⚠️ Single image | ❌ No |
| Video motion reference | ✅ Yes | ❌ No | ❌ No | ❌ No |
| First-frame control | ✅ Explicit | ✅ Yes | ⚠️ Limited | ✅ Yes |
| Multi-region scene layout | ✅ Yes | ❌ No | ❌ No | ❌ No |
| Prompt type | Multi-modal | Text-heavy | Text-heavy | Text-heavy |
The key differentiator is the multi-modal reference system.
No other tool lets you map upper / left / right scene regions to separate images, or use a real video to guide camera motion.
- Need simple generation? Pika or Runway work fine.
- Need cinematic control over structure and motion? Seedance 2.0 is the better choice.
Frequently Asked Questions (FAQ)
1. What is Seedance 2.0 used for?
Seedance 2.0 is used for generating AI videos with precise control over motion, structure, and perspective. Unlike traditional tools, it allows you to combine images, video references, and text prompts to create more realistic and cinematic results.
2. Do I need a video reference to use Seedance 2.0?
Technically, no — but in practice, yes.
If you don't use a video reference, the model will generate motion on its own, which often looks unnatural or inconsistent.
👉 Using a motion reference is the fastest way to improve video quality.
3. Why does my Seedance 2.0 video look blurry?
Blurry output is usually caused by:
- Low-quality input images
- Lack of detail in the prompt
- Complex scene composition
To fix this, use high-resolution images, simplify your scene, and add more visual detail to your prompt.
4. How long can Seedance 2.0 videos be?
Most generated videos are typically between 10–15 seconds, depending on the platform or API you are using. Some tools may allow longer durations, but shorter clips usually produce better quality.
5. Can I use Seedance 2.0 for commercial projects?
Yes, in most cases — but it depends on the platform or API provider you are using.
Always check the licensing terms before using generated videos for:
- Ads
- Client work
- Monetized content
6. What is the best prompt structure for Seedance 2.0?
The best prompts are structured and reference-based.
A strong prompt usually includes:
- A defined first frame
- A clear perspective (e.g. first-person)
- A motion reference
- Scene layout instructions
This approach gives you far more control than simple text prompts.
7. Why is Seedance 2.0 better than traditional text-to-video tools?
Traditional tools rely only on text, which leads to randomness.
Seedance 2.0 is better because it uses:
- Image references (for structure)
- Video references (for motion)
- Structured prompts (for control)
👉 This results in more consistent and higher-quality videos.
8. Can beginners use Seedance 2.0?
Yes, but there is a learning curve.
Beginners often struggle because they treat it like a text-only tool.
Once you understand:
- How to use references
- How to structure prompts
👉 It becomes much easier to use effectively.
9. What are the best use cases for Seedance 2.0?
Some of the most common use cases include:
- AI short films
- POV storytelling videos
- Product ads
- Game-style cinematics
- Social media content
10. How can I get better results with Seedance 2.0?
The most effective way to improve results is to:
- Use high-quality reference images
- Always include a motion reference video
- Structure your prompt clearly
- Start simple, then add complexity
👉 Small improvements in inputs can lead to much better outputs.